This is a quick knit pullover shrug. You can custom size this for almost everyone, and the garter stitch makes for a stretchy fit. The only tricky bit is the twist on the front piece, and I will try to walk you through that! The whole thing is knit in one piece, so you will only sew under the arm and short side seams!

take a moment and do some math (I know this is supposed to be easy, but trust me). Your chest measurement: divide by 2. This is the magic number.
Mine is 38", so 19 is the goal for the body width. Take off 7 for the neck opening, and the rest (12 divided by 2) is for the right and left sides. Write this down: 6 + 7 + 6 = 19 *** YOUR MATH NUMBERS!*** You will knit 6 straight, divide front and back and twist the front for 7, then rejoin and knit 6 straight before finishing the sleeve! Don't worry, I'll walk you through it!
Yarn: Artful yarns, Heavenly. 5 skeins (50 grams, 95 yards) You could substitute a worsted weight yarn that knits on 5mm (US8) and has the approximate gauge.
Gauge: 12 sts = 4 inches in garter stitch (knit every row) You want a loose, open knit, nothing too stiff for this project! Bigger needles may be best if too stiff.
Needles: 5mm (US8) I used long circulars worked
without joining, as there were a lot of stitches on the needle, but straights could be used.
Stitch holders (or thread stitches on contrast yarn to work later)
Size of mine: 38 inch at chest (loose fitting ) but you can do your OWN size by working the numbers (see above) and plugging them in when I say below!
This shrug is worked from one sleeve to the other, sideways.
Right sleeve: cast on 40 stitches. Work, knitting every row for 1 inch.
*put a big safety pin or other marker on the right side of the sleeve, to establish right side from wrong side... it will be hard to tell with garter stitch*
Increase ONE stitch at the start of next FORTY rows (you will have 80 stitches on the needle now).
Cast on TEN stitches at the start of the next two rows. (100 stitches on needle).
BODY: Work straight, knitting every row for 6 inches *** or the first of the math numbers above*** end with right side facing you for the next row!
Knit 50 stitches. Place these on a big stitch holder. Continue on the back only 50 stitches, knit until that piece measure 7 inches from start of back only. Finish with right side facing for next row. Place these 50 sts on a holder.


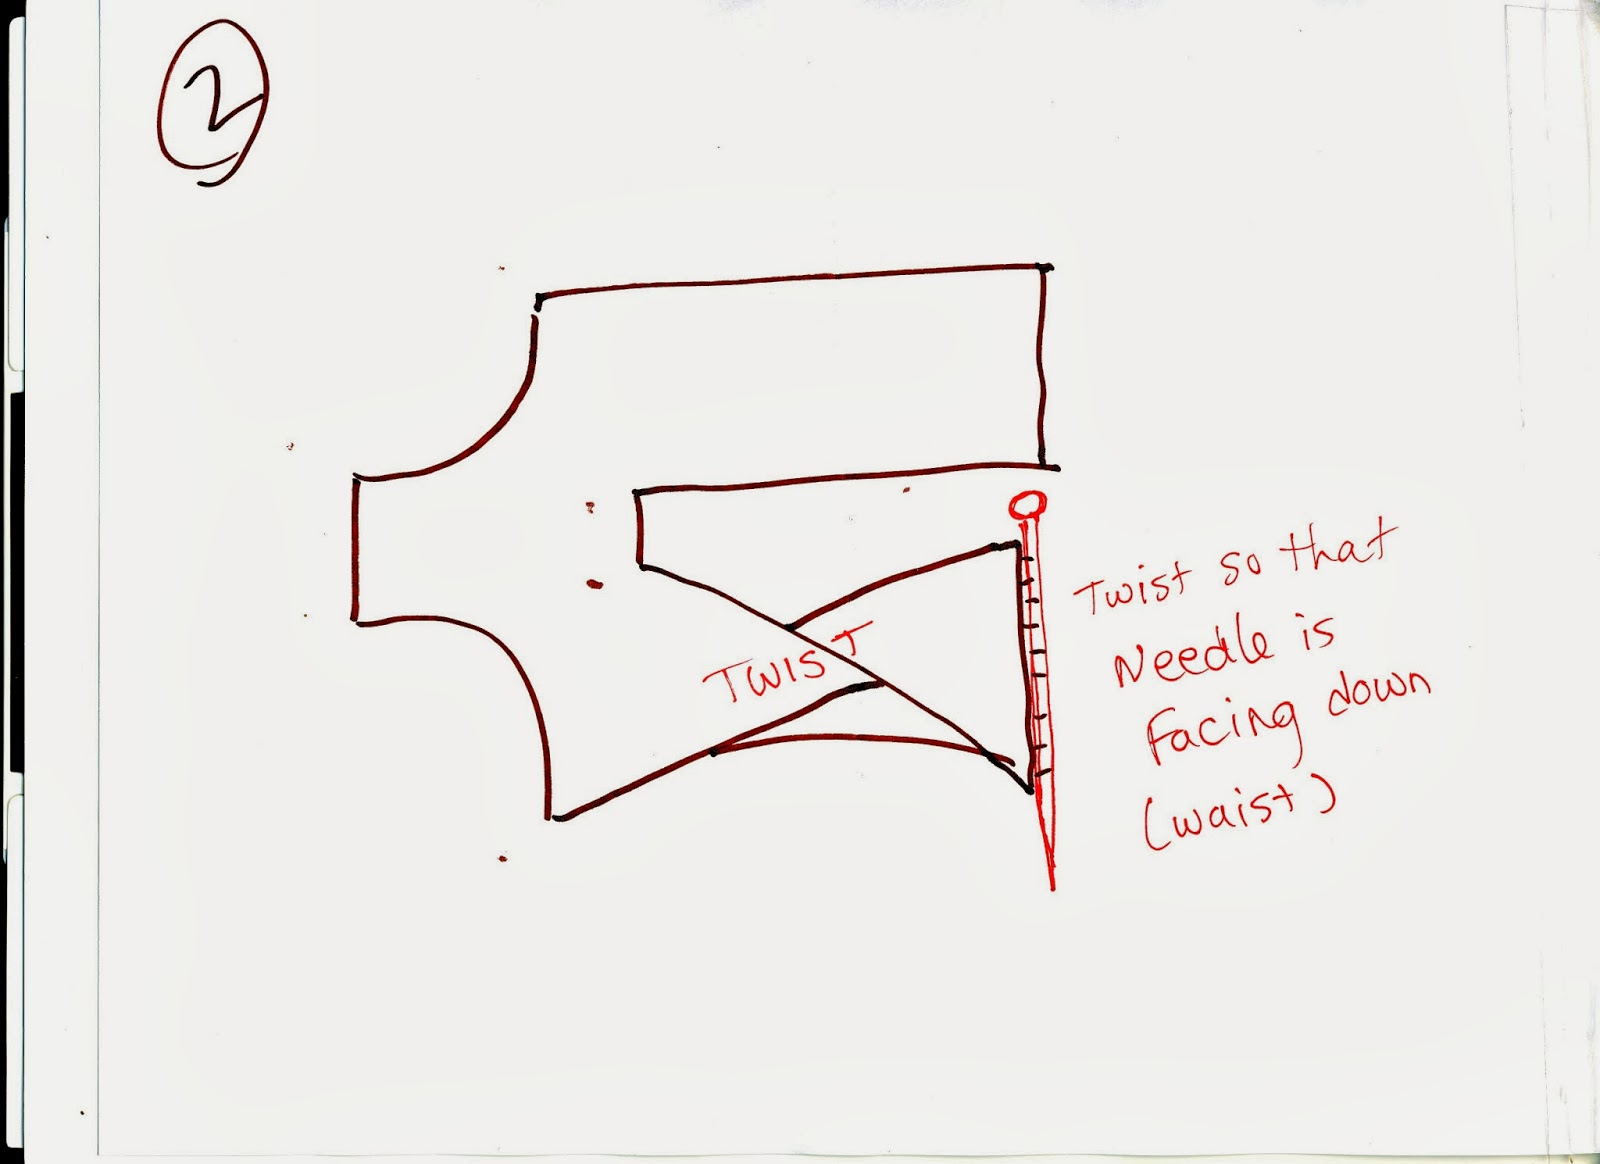
Place the front 50 on needles, and beginning with wrong side (at neck edge) cast off 10 stitches. Work the 40 remaining knitting every row for 8 inches (I know this is longer than the back but when you twist it, the front will shorten a bit) STOP AT THE END OF A RIGHT SIDE ROW. (obviously important as I did that in capitals). Laying the whole project on a table, you will notice that the last stitch you just worked is at the neck side. Take the needle and flip it so that the last stitch is now at the bottom edge of your work. One big twist is in the middle of the front now! Consider this new position the right side of the front, and knit up the 40 stitches. DON"T TURN.... Cast ON 10 more stitches (for the left neck opening), and knit straight across the back stitches (take them off the holder and put back on a needles). (you have 100 sts again)
Continue to knit straight for 6 inches ** or your third math number from above**
Left sleeve: Cast off 10 stitches as start of next two rows.
Decrease one stitch at start of next 40 rows (back to 40 sts again)
Knit straight for one inch then cast off.
Sew under sleeve and small side seams. Sew in ends.

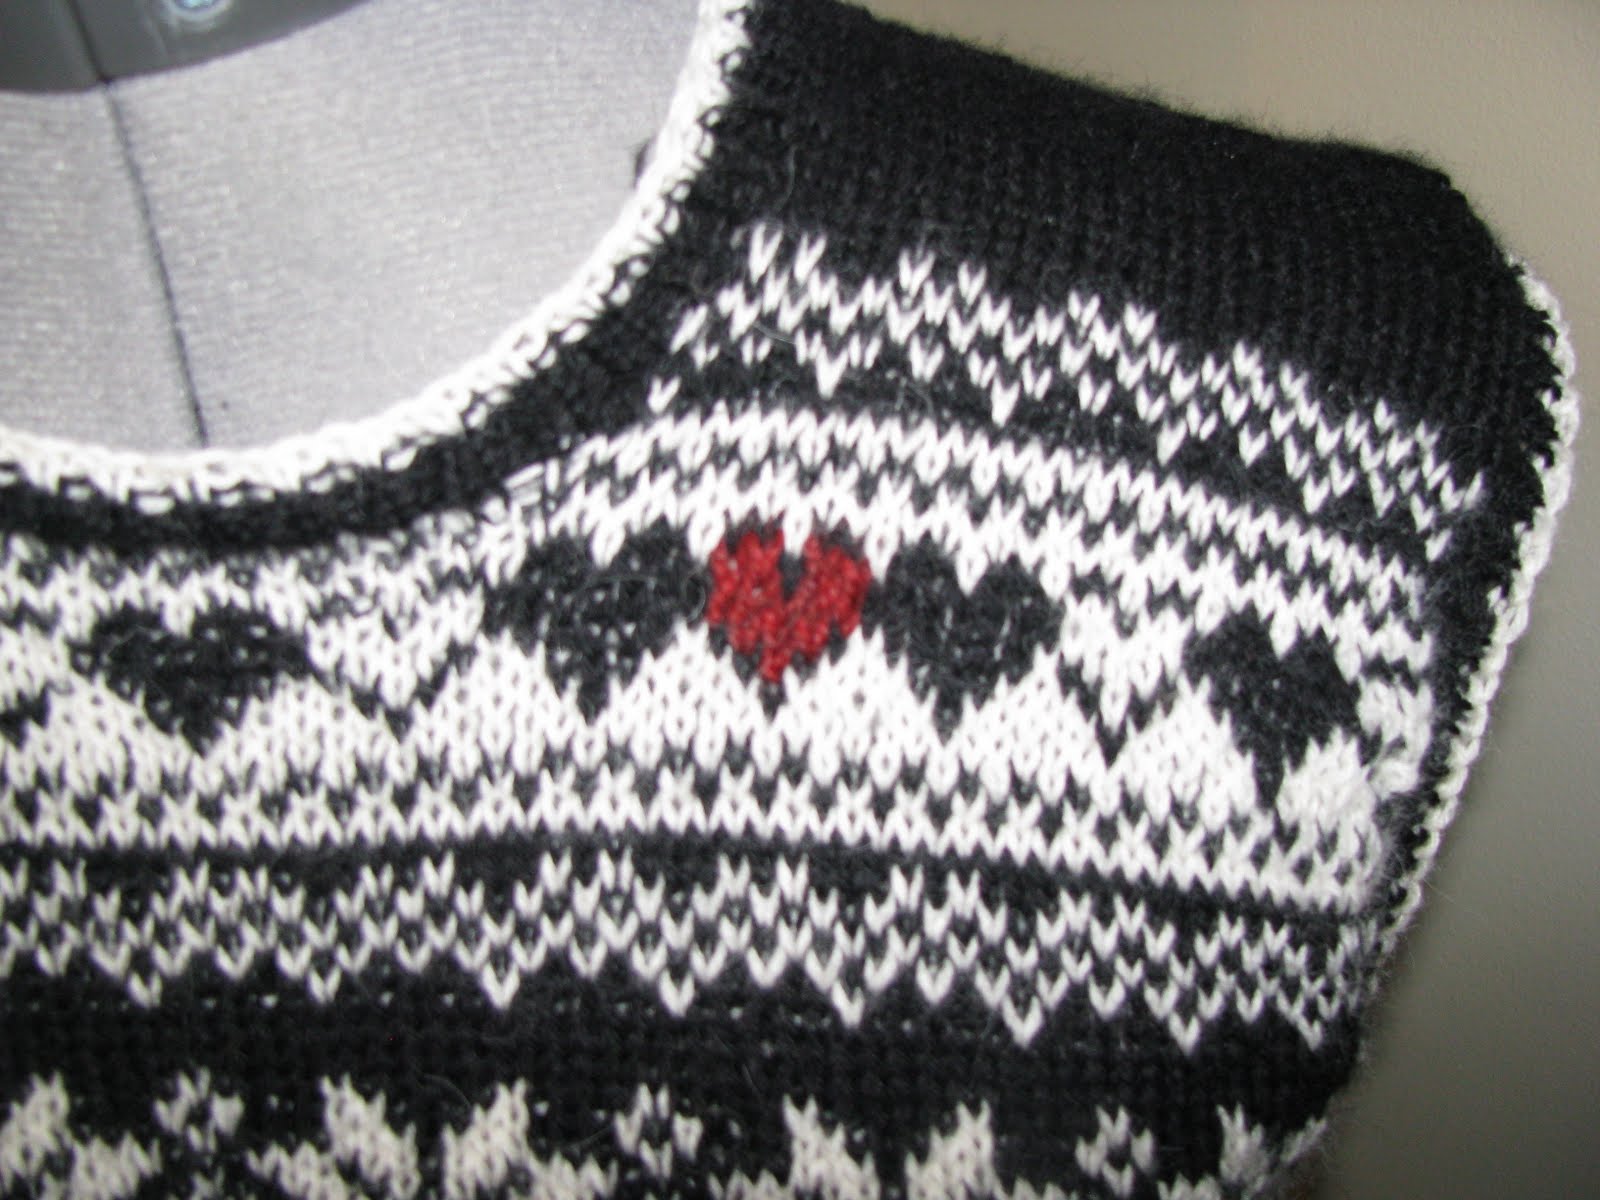
 I know, this is not knitting. I was in the local drugstore, and cut through the seasonal gift aisle on the way to the post office in the back. Suddenly I stopped. There on the shelves were several sizes of what I can only assume to be sock monkey toys. What really stopped me was how BAD they were, being sewn out of cheap stretch cotton (think tee shirt) fabric, and way too big to be even close to being made from a sock. This is what the mass production and commercialization of a traditional (and perfectly fine JUST the way it is) toy creates. Yuck. The only sweet part was they had a heart sewn to the chest (by factory workers in China).
 So Please, make them this year for your Sweethearts! Or at least find an authentic sock monkey ARTIST, and get the real deal! They don't even cost very much and haven't changed in 100 years!